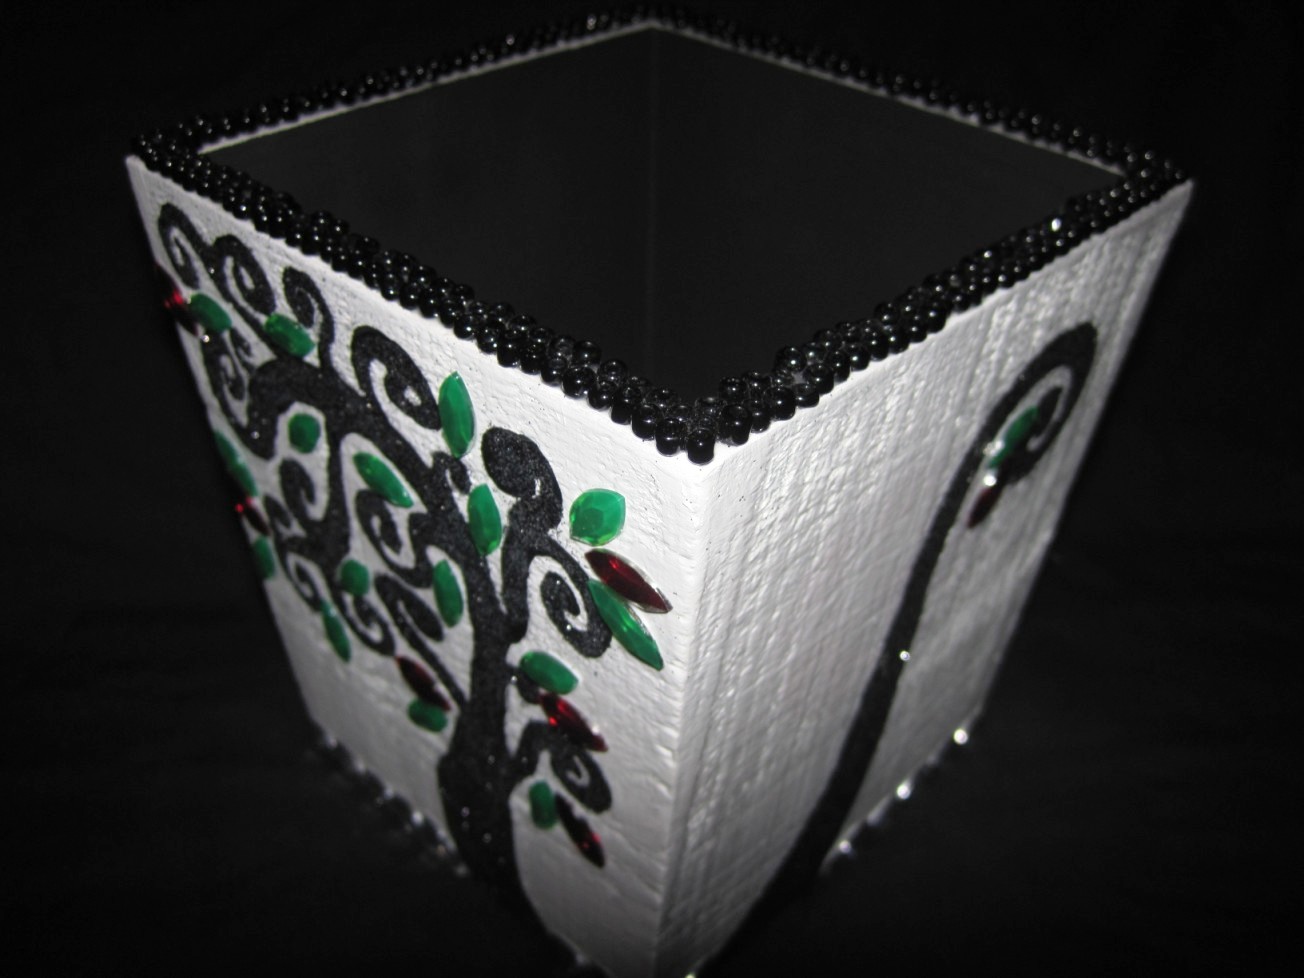
Refurbished Wooden Plant Pot
This is a hard piece to photograph. The flash washes it out a bit, but you get the point.
I added fine glitter and then glued on jewels to give it some dimension and shimmer.
I added beads to the rim of the pot.
I didn't think to take a before picture (silly me!), but it was a drab brown plant box with a hideous flower printed on it before I repainted it. I bought it at goodwill for $0.50.

.jpg)
.jpg)

.jpg)


