Making the giant paper mache
HERCULES BEETLE
I made this for a educational event at my school. It turned out wonderful
and it is now on display in a museum at my school!
_________________________________________________________
First I used insulation foam to make an outline of the
beetle. I tried to keep the design directly proportional to the real Hercules
beetle. I used a real Hercules beetle and photos of the beetle for the design.
The foam outline of the beetle will serve as the template for the whole statue.
Next I started adding paper balls and masking tape the structure to give it girth.
I did three layers of paper mache to make the core more solid.
I made the legs from wood then covered them with masking tape. I
reinforced every joint with metal wire. Then covered that with more tape
and then paper.
The legs are made!
I made the horns out of paper and masking tape then taped them on to the body. I also formed the eye out of rolled up paper.
I attached the middle brace and finishing the legs. The entire bottom
half of the beetle is a tomato cage that I cut in half and opened. I
attached this to the core/body of the beetle after the final coat of
paper mache was dry. I covered all parts of the cage with paper mache
and lots of tape. The metal wire sticking out of the beetles butt are
the anchors that I used to attach the beetle to the base that it sat on.
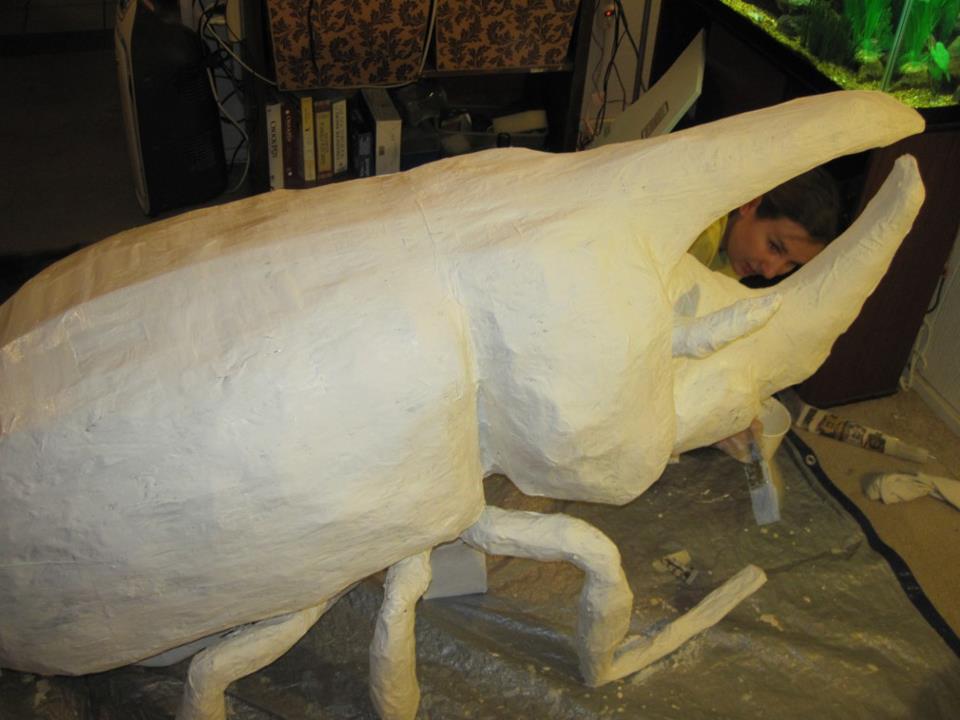
Covering all of the surface with a white primer paint to cover up the paper.
Its all primed!
I’m naked! Base painting is done.
The beginning of all of the details.
The outline of all of his spots.
Finishing all of the spots. Life is given to the beetle through the tiny details.
Put his fringe hairs on and painted his eyes gold!
The finished product! Thanks to my helper Anthony!!